The Halloween baking supplies worth having on hand are a themed cookie cutter set, gel food coloring, candy melts, orange and black sprinkles, and cellophane treat bags, along with a few decorating tools that make all of them easier to use.
None of this stuff is expensive or complicated. It’s the kind of small, cheap thing you toss in your cart without much thought, but it’s also the difference between a cookie that reads as “Halloween” and a plain sugar cookie with orange frosting smeared on top.
The first year I tried to make Halloween cookies with whatever I already had in the pantry, I ended up with round blobs in a sad, pale orange, because I didn’t own a single seasonal cutter and my food coloring was leftover Easter pastel. It took me a couple of Octobers of actually paying attention to what worked and what didn’t, including one batch of candy melts that turned into a grainy mess I had to throw out, before I landed on the short list below.
This is that list. Nine things I buy every year, in the order I actually use them, plus the specific mistakes I made with a few of them so you don’t have to repeat them.
Table of Contents
Key Takeaways
- None of these cost more than a regular grocery run, they’re just easy to forget about until October is half over
- A themed cookie cutter set is the one item that actually makes a plain sugar cookie look like Halloween instead of just an orange circle
- Candy melts seize almost every time from one specific mistake, and it’s an easy one to avoid once you know what it is
- Sprinkles need something tacky to grab onto, not just contact, or half of them end up on the counter instead of the cookie
- Halloween baking supplies get picked over fast once the season starts, and the specific colors and shapes are usually the first things to sell out, so I grab mine in September rather than the week before
9 Halloween Baking Supplies I Stock Up On Every October
I’m listing these roughly in the order I use them, starting with cutting the dough and ending with bagging up the finished cookies. A few are things I already owned before Halloween ever came into it, but most of them only get pulled out this time of year.
1. A Halloween Cookie Cutter Set
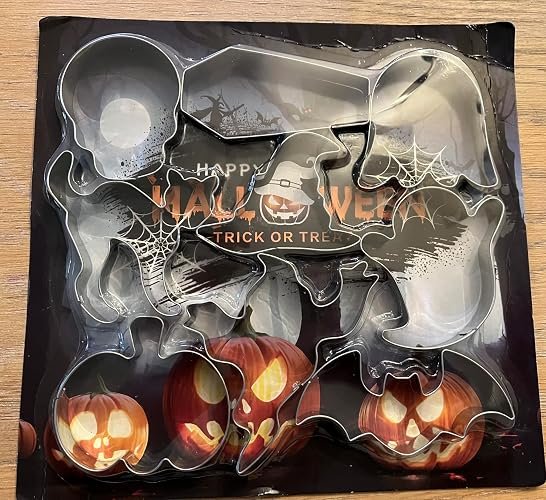
This is the one purchase that actually changes the outcome. A set with a bat, a ghost, a pumpkin, and a couple of other classic shapes turns a basic sugar cookie dough into something that looks intentional, instead of a round cookie with orange icing that’s supposed to read as a pumpkin.
I look for a metal set over plastic now, since metal edges cut cleaner through chilled dough and hold their shape better after a few seasons of use. A cheap plastic cutter tends to squish the dough at the edges instead of slicing it, which rounds off all the details that make a bat look like a bat.
2. A Wire Cooling Rack
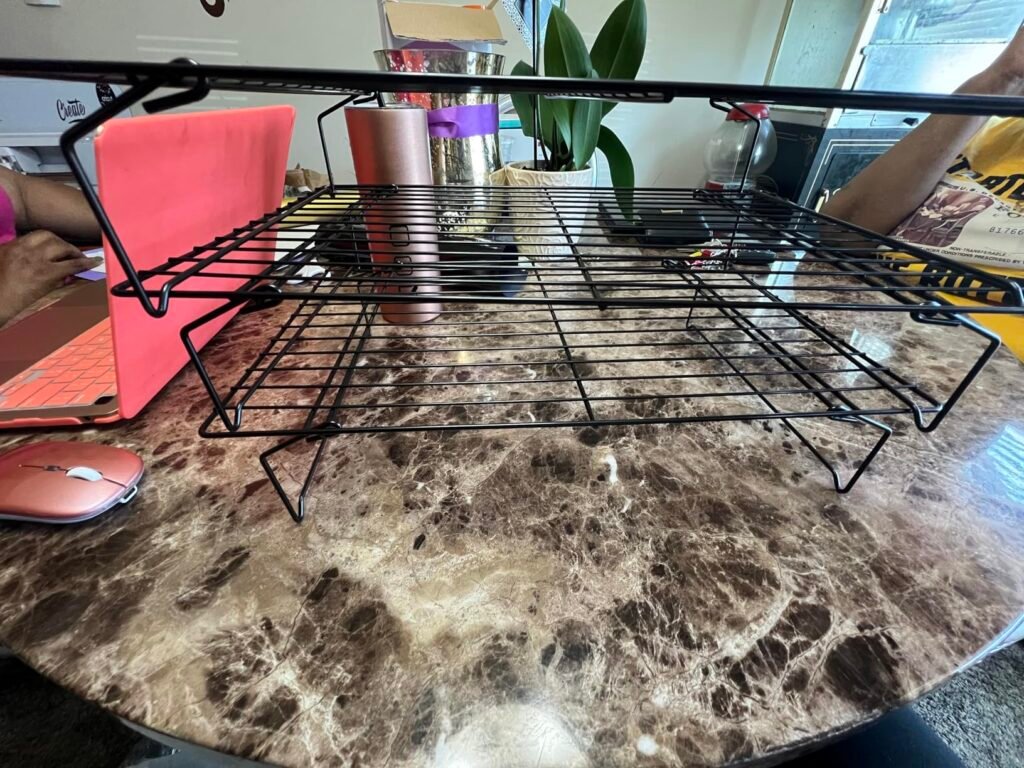
This one isn’t Halloween specific, but I’m including it because it matters more this time of year than most others. Cut-out cookies need to cool all the way before you touch them with icing or candy melts, and a rack gets air moving underneath them so the bottoms don’t stay warm and soft while the tops look done.
I used to just leave cookies on the baking sheet to cool, and the ones on the edges of the pan would sweat a little from the leftover heat, which made my icing slide instead of set. Switching to a wire cooling rack fixed that pretty much immediately.
Good for: letting a full batch of cut-out cookies cool at once without babysitting them.
3. Meringue Powder
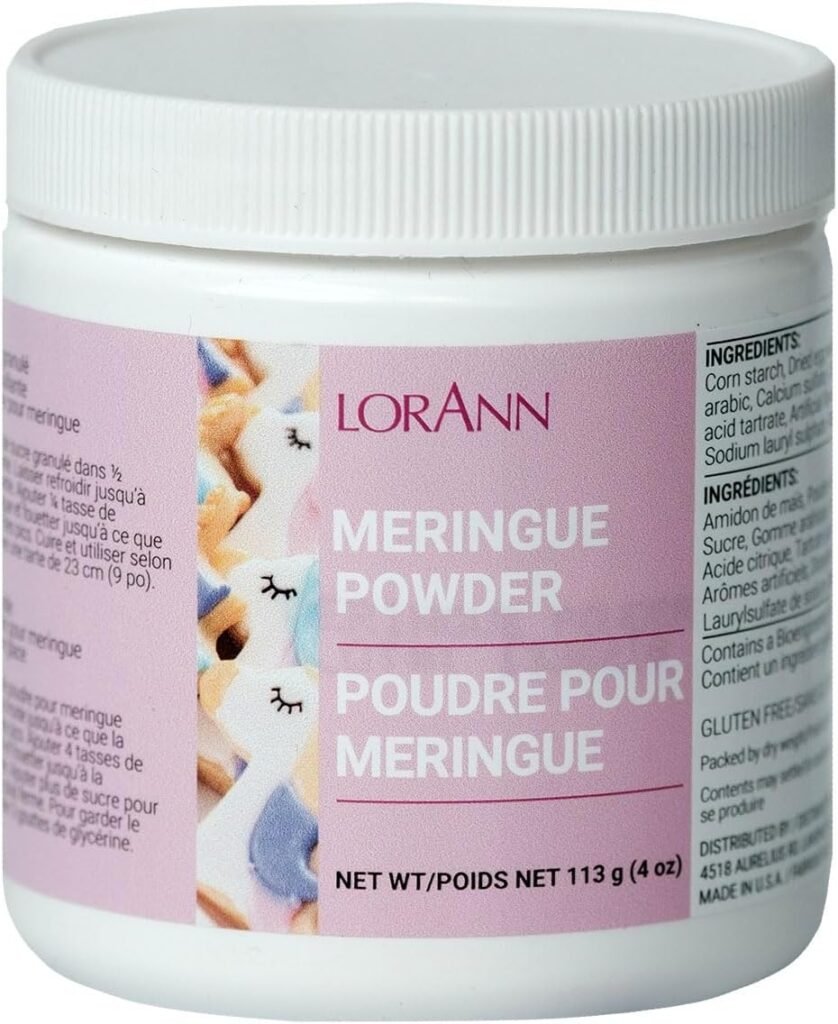
If you’re doing anything with royal icing, piped spiderwebs, or a hard shell that holds sprinkles in place, meringue powder is the ingredient that makes it possible without raw egg whites sitting out on the counter. It whips up into a stable icing that actually hardens instead of staying soft and smudgy.
I skipped this for a couple of years thinking regular powdered sugar icing would work the same way, and it doesn’t. Royal icing made with meringue powder dries with a shell you can stack and bag, which plain glaze icing never quite does.
Good for: anyone piping detail work like spiderwebs, outlines, or writing on cookies.
4. Gel Food Coloring in Orange and Black
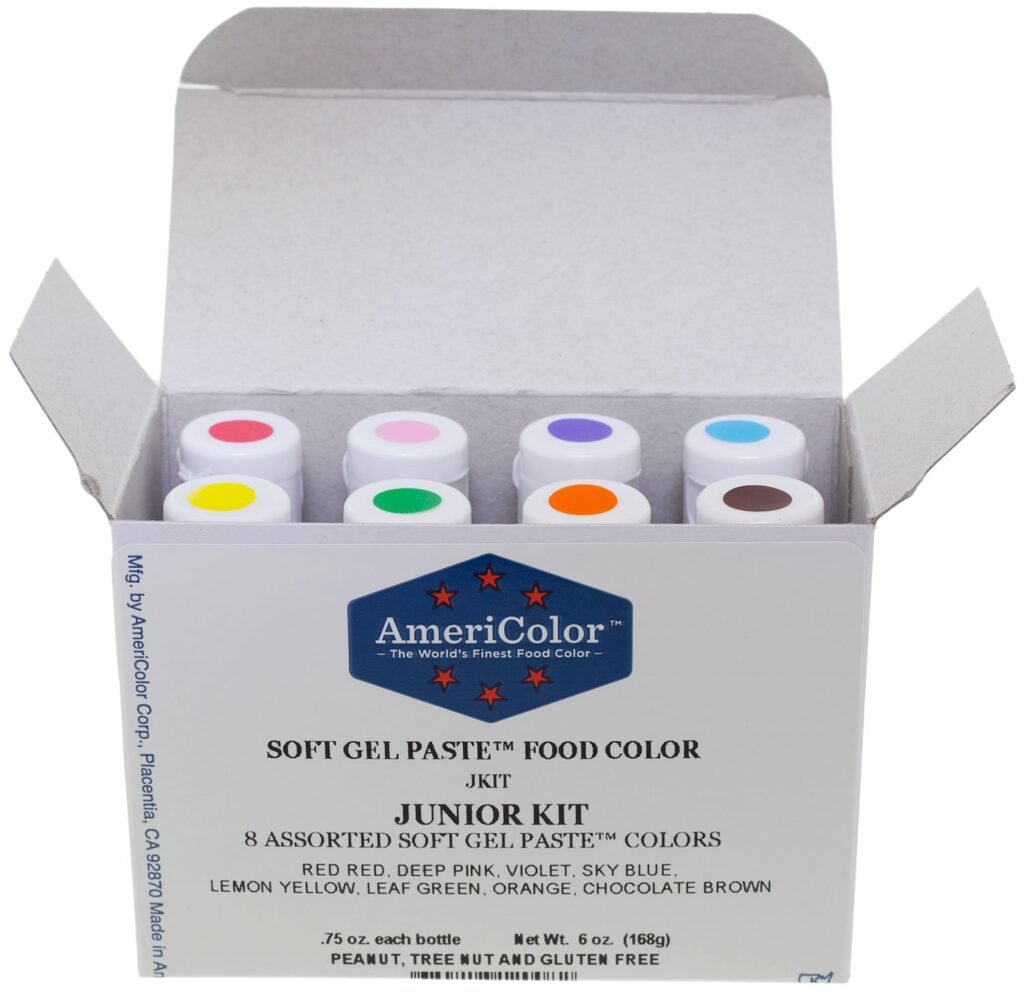
Liquid grocery store food coloring is where most of my early Halloween baking disappointments came from. It waters down icing and dough, and you need so much of it to get a real orange or black that the texture suffers before the color does.
Gel coloring is concentrated enough that a toothpick’s worth gets you most of the way there. Black is the trickier one of the two. I’ve had it dry with a greenish or slightly purple tint more than once, especially in a white-based icing, and letting the icing sit for a few hours before judging the final color has saved me from repainting a whole batch.
A basic gel food coloring set will usually include both an orange and a true black, which covers both colors from one purchase instead of buying single bottles.
Good for: dough, royal icing, and buttercream that need real color without going soupy.
5. Piping Bags and Tips
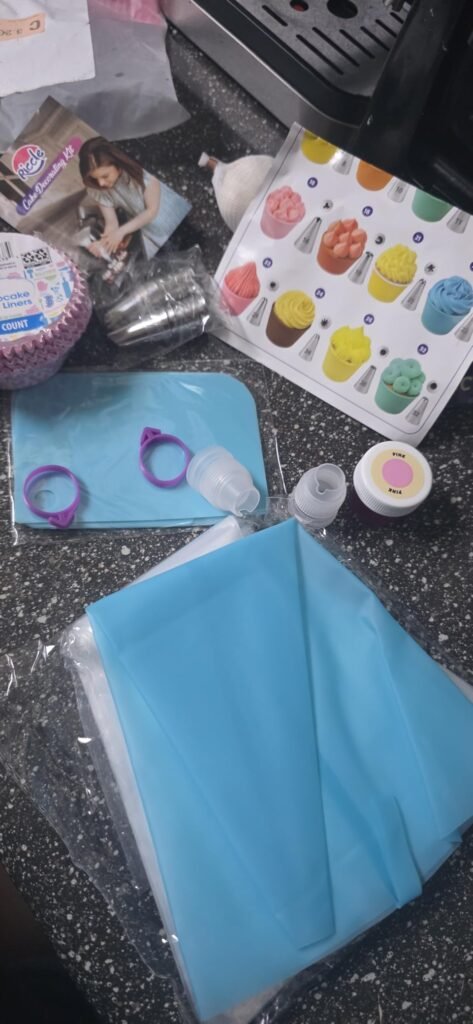
Once you’ve got royal icing tinted and ready, you need a way to actually put it on the cookie in a controlled line instead of a puddle. A basic set of disposable piping bags with a handful of round and star tips covers spiderwebs, outlines, and writing without needing anything fancy.
I got by for a while with a plastic sandwich bag and a snipped corner, and it works in a pinch, but the line control is nowhere close. A real set of piping bags and tips gives you a thin, even line the first time instead of the third or fourth attempt.
Good for: outlining shapes, piping spiderwebs, and writing “boo” on literally everything.
6. A Small Offset Spatula

This is the tool that spreads icing into a flat, even layer instead of the lumpy swipe you get from the back of a spoon. The angled blade keeps your hand up above the cookie surface, so you’re not dragging your knuckles through wet icing while you work.
I didn’t think a spatula this small could matter until I used one to flood a batch of ghost cookies and noticed how much faster and cleaner the icing sat compared to using a butter knife. A small offset spatula is one of those tools you’ll keep using well past Halloween too, on cakes and brownies.
Good for: flooding cookies with a smooth base layer of icing before you pipe any detail on top.
7. Candy Melts in Orange and Black
Candy melts are the fastest way to get a solid, glossy orange or black coating on pretzels, Oreos, or cake pops without tempering real chocolate. They melt smooth, set with a snap, and hold color better than trying to tint white chocolate yourself.
The one mistake that ruins a batch, and the one I made my first time using them, is letting even a drop of water near the bowl. My melts went from smooth to grainy and clumped the second some steam from a nearby pot drifted over, and once that happens there’s no fixing it except starting over or stirring in a little vegetable shortening to loosen it back up.
Keep your bowl and spoon completely dry, melt in short bursts in the microwave at half power, and stir between every round instead of waiting until it looks done. I keep orange candy melts and black candy melts both on hand, since almost every project needs a mix of the two. A silicone Halloween mold set with skulls, bats, and spiders turns melted candy coating into something more interesting than a flat dipped shape, and it’s the tool that gets the most “how did you make this” comments out of everything on this list.
8. Orange and Black Sprinkles
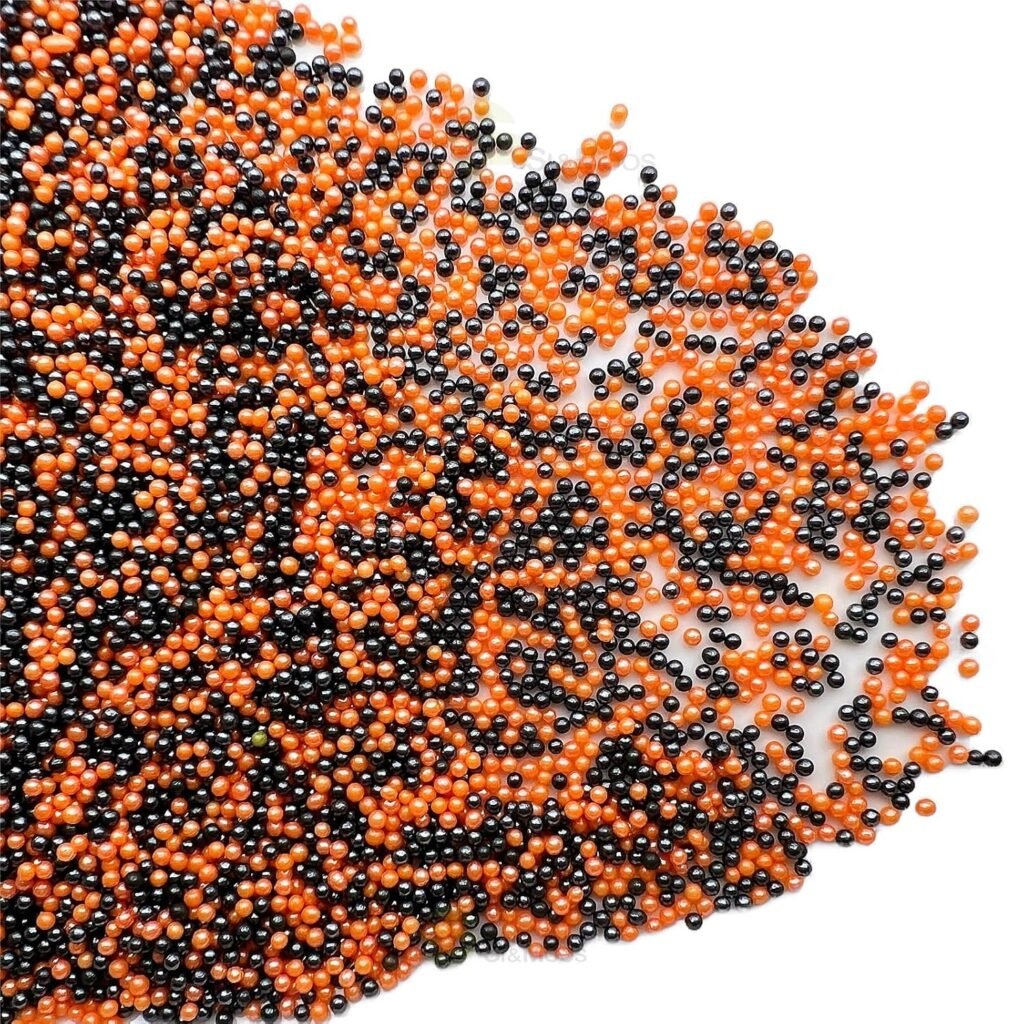
Sprinkles are the fastest way to make anything look festive without decorating skill, but they only work if they actually stay on. Dry sprinkles pressed onto dry icing just roll right off the second you touch the cookie.
What actually works is timing. Either brush unbaked dough with a little milk before the sprinkles go on, or add them while icing or melted candy coating is still wet and tacky, not after it’s already set. I learned this the hard way on a batch where I waited until the icing looked “almost dry” before sprinkling, and every single sprinkle ended up in the bottom of the cookie tin by the next morning.
A true black and orange sprinkle mix is worth seeking out specifically, since a lot of what’s labeled “fall” leans more into a muted autumn blend than real Halloween colors.
9. Cellophane Treat Bags
Once the cookies are decorated and fully dry, this is what turns them into something you can actually hand out or gift instead of just piling them on a plate. Clear cellophane also shows off the shapes and colors you just spent all that time on, which a solid gift bag hides completely.
I like a small twist tie bag over anything with a fussy fold, since it seals fast when you’re bagging a whole batch at once. These cellophane treat bags come with ties included, and I’ve used the same style for homemade edible gifts outside of Halloween too.
Good for: goodie bags for a class party, a neighbor swap, or just keeping decorated cookies from getting knocked around in a container.
How I Actually Use All of This Without Wrecking a Batch
The order matters more than people expect. I cut and bake the shapes first, cool them completely on a rack, then tint and pipe the icing, and only add sprinkles or dip anything in candy melts while that layer is still wet.
Candy melts specifically need a bone dry bowl, a dry spoon, and short microwave bursts at half power with a stir every time, not one long melt. The second any water touches them, they seize into a grainy paste that no amount of stirring fixes, and stirring in a little shortening is really the only way back from that.
Black food coloring is the other one I watch closely. I mix it in, then walk away for a couple of hours before deciding if it needs more, since a true black in white icing often starts out looking more like dark green or purple and corrects itself as it sits.
If you’re making a big batch, this same melting logic is exactly what I use for the white chocolate coating in my candy corn chex mix, so it’s worth getting comfortable with once and reusing it everywhere.
Store-Bought vs. Homemade Halloween Cookies
| Store-bought decorated cookies | Homemade with this kit | |
|---|---|---|
| Shapes and colors | Whatever the bakery case has that week | Bats, ghosts, pumpkins, whatever you pick |
| Cost per cookie | Priced per piece, adds up fast for a class party | Mostly sunk into reusable tools, not one-time cookies |
| Freshness | However long it’s been sitting in a case | Baked and bagged the same day |
| Effort | None | An afternoon, most of it hands-off cooling time |
This Is the Bin I Pull Out Every October
Everything above lives in one plastic bin in my pantry from one Halloween to the next, and almost none of it gets touched the rest of the year except the cooling rack and the offset spatula. That’s honestly the appeal.
The cutters, the meringue powder, and the candy melts are genuinely seasonal, and once late October hits, the specific orange and black versions of all of this tend to get pulled off shelves fast. I’d rather buy it in September while it’s easy to find than hunt for it the week before Halloween.
If you’re also stretching a Halloween budget, my guide to where Halloween candy is actually cheapest pairs well with this list, since baking your own treats and buying candy smart both stretch further than one big last-minute store run.
FAQ
What are the must-have Halloween baking supplies?
A themed cookie cutter set, gel food coloring in orange and black, candy melts, orange and black sprinkles, and cellophane treat bags cover most of what you need. A few decorating tools like a piping bag and an offset spatula make all of them easier to use well.
How do you keep candy melts from seizing?
Keep every bowl, spoon, and utensil completely dry, since even a drop of water or steam will turn them grainy and clumped. Melt in short bursts in the microwave at half power and stir between every round instead of one long melt.
How do you make sprinkles stick to cookies?
Add sprinkles while icing, glaze, or melted candy coating is still wet and tacky, not after it looks set. For unbaked dough, brushing on a little milk first gives the sprinkles something to grab onto before baking.
Why does black food coloring look green or purple instead of black?
Most gel black is built from a mix of other colors, and the undertone can show through as green or purple depending on what it’s mixed into. Letting the icing or frosting sit for a couple of hours often lets the color settle closer to true black before you decide it needs more.
How far ahead can you make Halloween cookie treat bags?
Fully decorated and dried cookies hold well in a sealed cellophane bag for about a week at room temperature, as long as the icing had time to harden completely before bagging. Bagging cookies while the icing is even slightly soft will fog the inside of the bag and soften the decoration.

Cynthia Odenu-Odenu is the founder of Cyanne Eats. A registered nurse with a passion for food, she brings the same attention to detail from her professional life into the kitchen. From chain restaurant rankings to grocery finds and easy recipes, Cynthia covers it all and helps everyday food lovers eat better and spend smarter.